Importing artwork
This page covers the three ways to bring outside artwork into bisect — SVG, auto-traced raster, and a reference backdrop — plus tips for clean results.
bisect accepts three kinds of input:
| Input | How it lands | Reach for it when |
|---|---|---|
| SVG | Each path becomes an editable shape | You have clean vector art (logos, icons, lettering) |
| PNG / JPG / photo | Auto-traced into editable vector shapes (outline stitches by default) | You have a raster image to digitize into stitches |
| Reference backdrop | A pinned image you trace by hand | The artwork won't trace cleanly and you want to draw over it |
SVG
The cleanest path. Drop an SVG onto the canvas and each path becomes an editable shape. Strokes become running stitches; fills become tatami. Adjust per-shape afterwards.
What works well: vector logos, icons, hand-drawn lettering exported from Procreate / Illustrator / Affinity Designer.
Limits: very dense SVGs (1000+ paths) will warn before importing — embroidery files don't sew at that resolution. Simplify in your vector tool first.
PNG / JPG / photo (Image to Embroidery)
Click Image to Embroidery in the top bar, or drop a raster image onto the canvas. The dialog walks the whole job: frame it → choose a style → preview → accept to canvas.
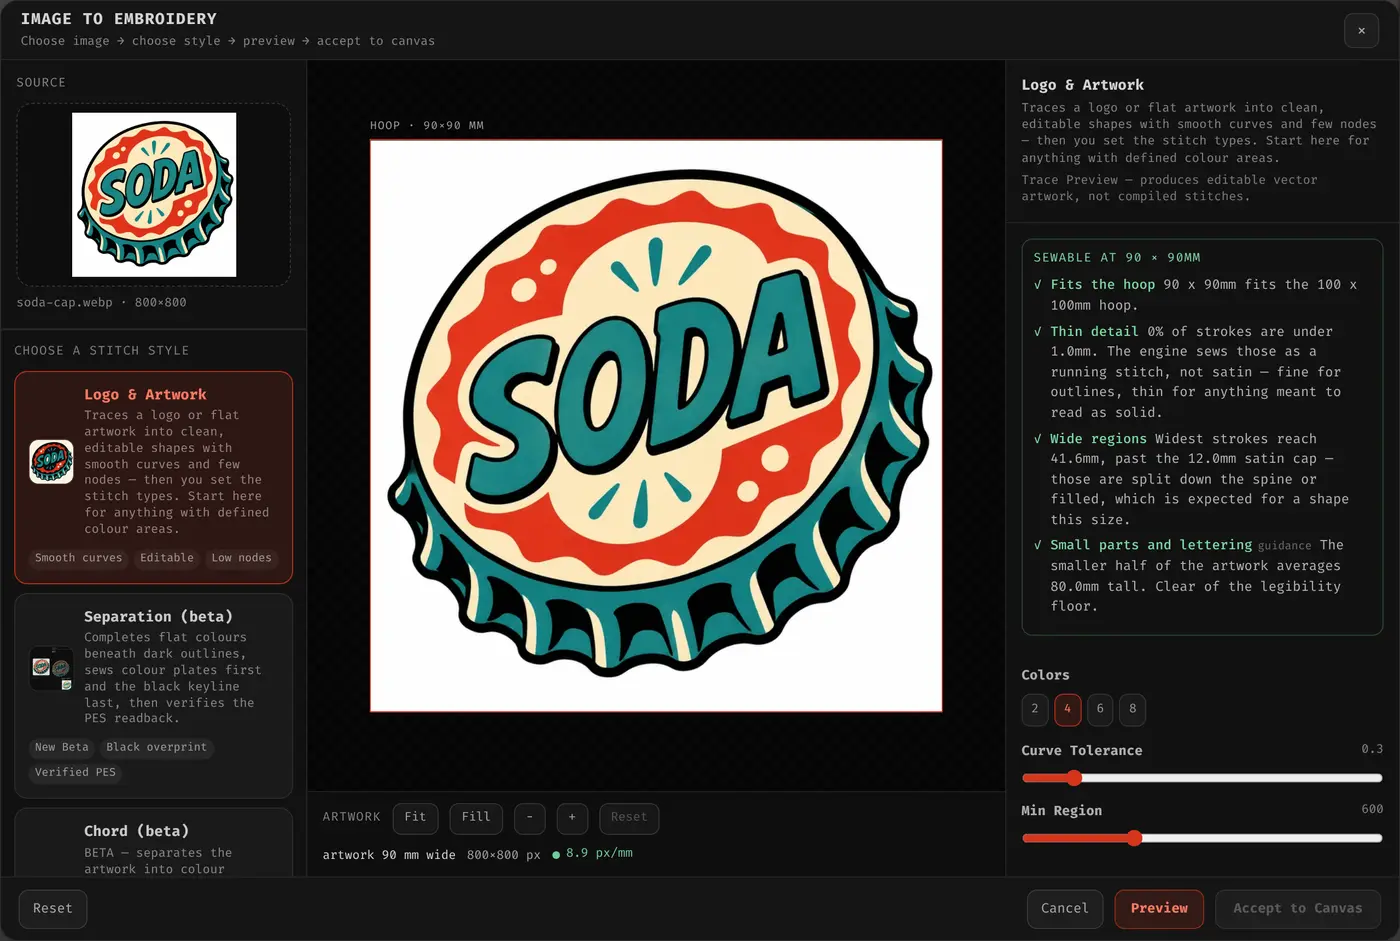
1. Frame it against the hoop
The picture opens on the framing surface, with the hoop drawn around it. Nothing is generated yet — this step is about deciding what gets sewn and how big, which is the one thing you cannot change afterwards without re-tracing.
- Fit / Fill — fit the whole picture inside the hoop, or fill the hoop and crop the overflow.
- Scroll to zoom, drag to move — zoom in and reposition to crop to the part you actually want.
- Reset — back to the whole image.
Leave it alone and the whole image is fitted to the hoop, exactly as before. The readout underneath tells you the finished width in millimetres and the pixels-per-millimetre you are working at.
The panel on the right reads the artwork and tells you what it will cost before you spend anything: whether it fits the hoop, how much of it is under 1mm (those sew as a running stitch, not satin), how wide the widest region is, and whether small lettering is above the legibility floor.
2. Choose a stitch style
Each style is a different way of covering the artwork with thread. Logo & Artwork is the one to start with for anything with defined colour areas — it is the recommended entry and the one most jobs want.
The rest are named for what they do, using the vocabulary of print, drawing and embroidery rather than invented names:
| Style | What it does |
|---|---|
| Logo & Artwork | Traces flat art into clean editable shapes. Start here. |
| Separation (beta) | Colour plates sewn first, black keyline last, PES readback verified. |
| Overprint (beta) | Colour blocks with the ink line sewn over the top; colour continues underneath. |
| Chord / Arc (beta) | The same ink line as straight chords, or fitted arcs. |
| Bitmap | Chunky square tiles — sprites, retro patches. |
| Blind Contour | One continuous unbroken path, like the drawing exercise. |
| Continuous Tone | One line whose density carries the tone. |
| Long & Short | Directional stitches following the form. |
| Scumble · Seed Stitch · Topo · Groove · Whorl · Sashiko · Ripple | Texture styles — shading, dots, contour lines, spirals, running dashes, waves. |
Anything marked (beta) is an experiment that is switched on. It works, it may change, and a couple of them are slower than the rest.
The whole Image to Embroidery area is experimental, in the same way the type system currently is: every style is a fixed run through one underlying pipeline, and we would rather expose that pipeline as something you can wire up yourself than keep adding buttons. See Every style, same picture for all sixteen compared side by side, and Reading a conversion for how to judge one before you accept it.
3. Preview, then accept
Preview renders the result in the middle pane. Nothing runs until you ask — framing first, then preview, so you never spend a render on a crop you were about to change.
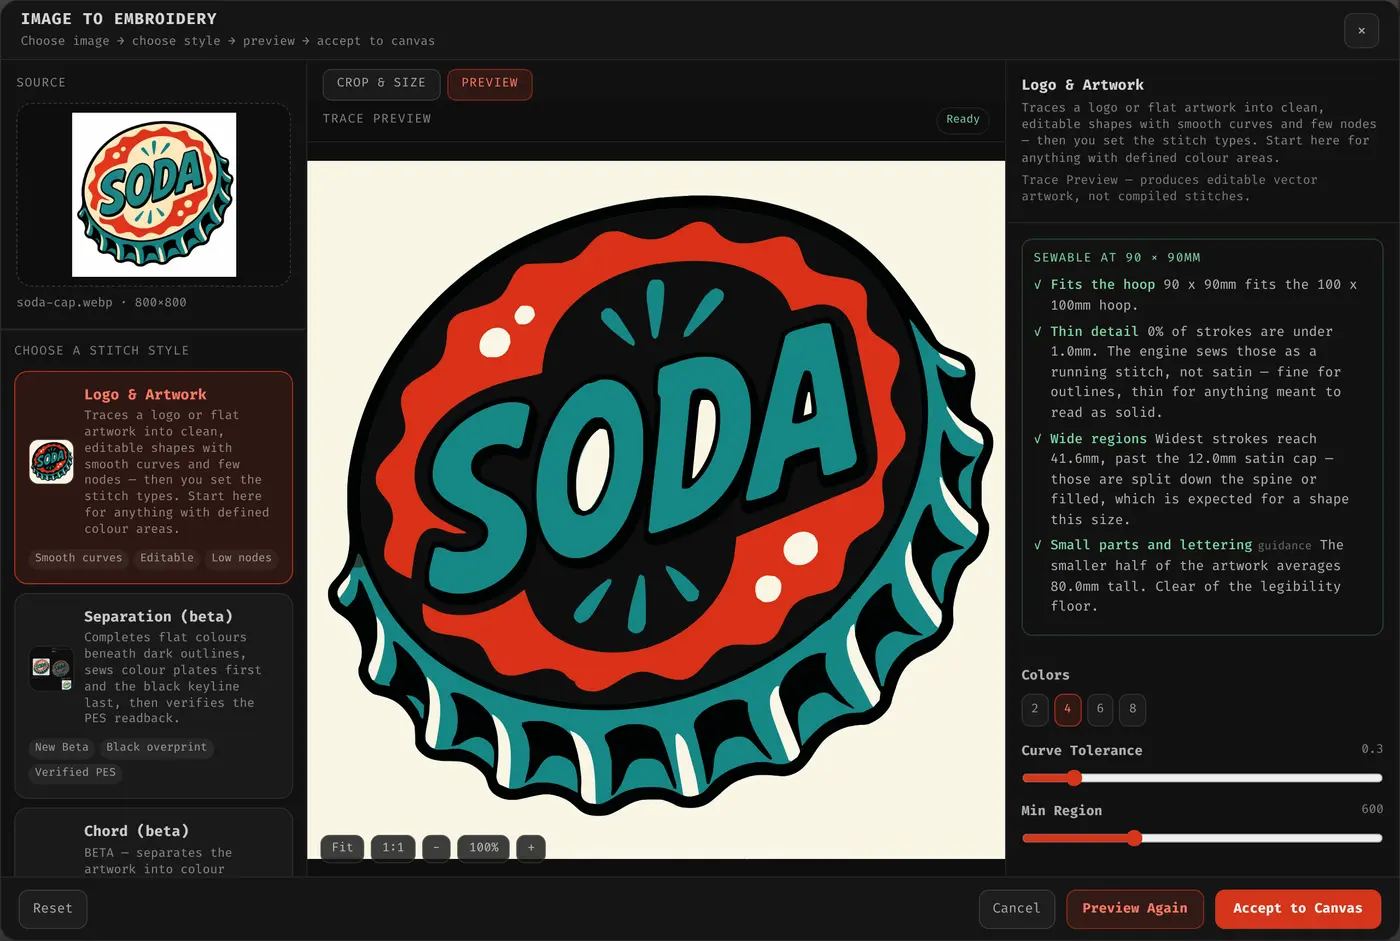
Tweak the controls and preview again, Reset to start over, Cancel to back out, or Accept to Canvas to drop the result onto the canvas as editable objects — not a flat file. You can change a fill, a colour or a stitch type on any of them afterwards.
What it looks like
Left is the file that went in; right is the stitches the engine made from it, in the editor's realistic view at a 4×4″ hoop.
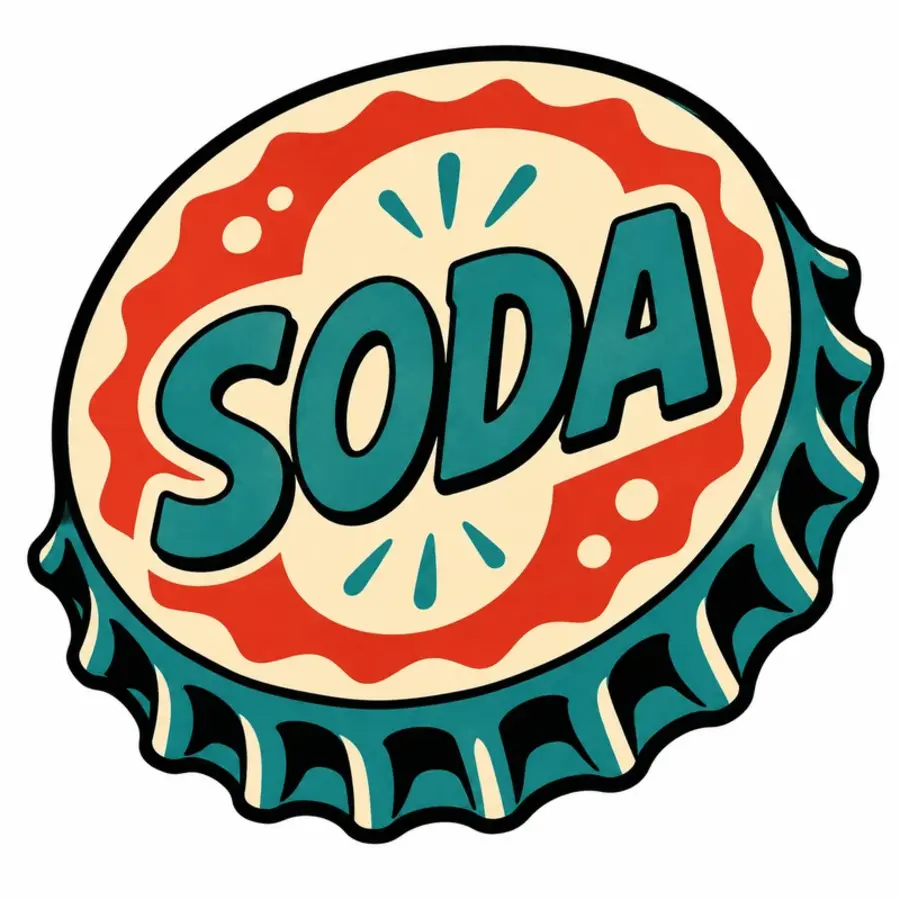
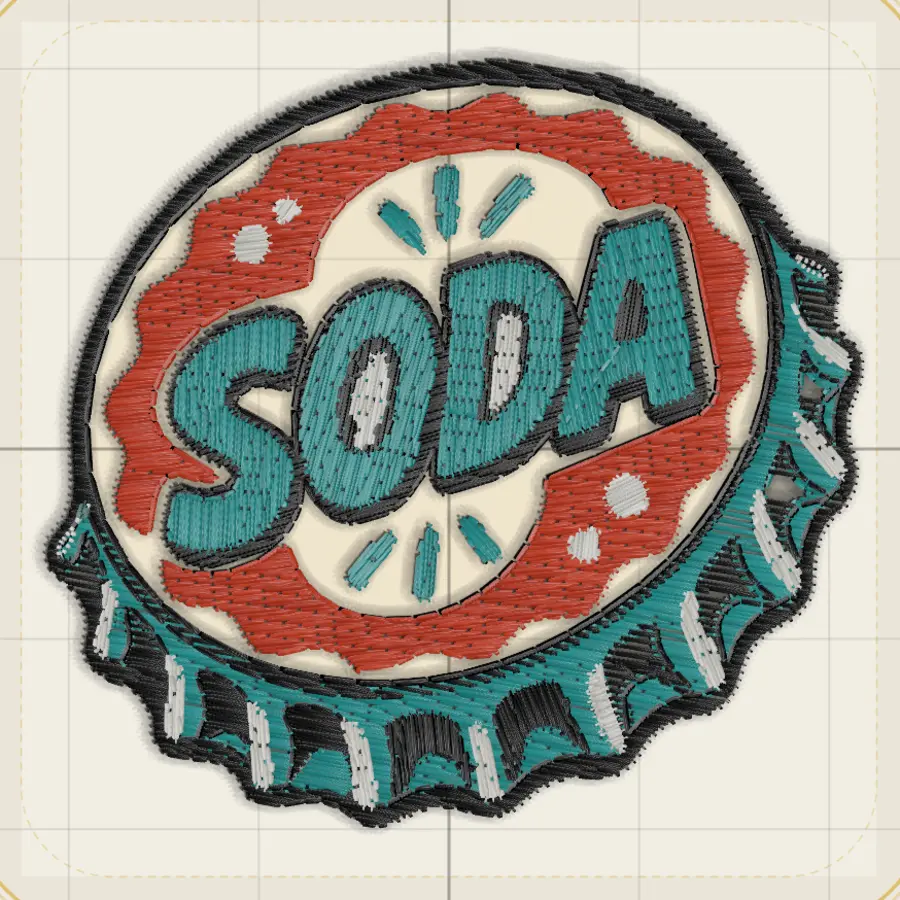
Flat colour areas with a strong keyline are the easiest thing to sew well. Fine lettering is where it gets hard — thread has a width, so detail under about a millimetre becomes a thin line rather than a solid shape. That is a property of embroidery, not a bug, and the panel warns you before you commit.
Place as reference
If the artwork won't trace cleanly (photos, complex artwork), use a reference backdrop instead.
Drop the image and pick Place as reference in the choice dialog. The image becomes a backdrop you trace by hand with the Pen tool. Reference image controls live in the Reference panel:
- Opacity — fade the backdrop so your stitches are visible against it.
- Lock — keep the reference from being moved when you click near it.
- Vectorize this — convert the reference to stitch shapes after you've sized and cropped it.
Tips
- Resize artwork to the final stitched size before importing. Re-scaling stitches after generation loses density information.
- Crop tight to the design. Whitespace around the design becomes wasted hoop area.
- For lettering, typing the text in bisect beats tracing a rasterized version of it. Use the
Ttool with a Design font.- Black on white traces best — re-color afterwards in the editor.
Next step
Once your artwork is on the canvas, set its stitch types, then move on to Exporting.
See also: The editor · Drawing & stitch types · FAQs