The editor
The editor is where you draw, set stitch properties, preview, and export.
Press ? anywhere in the editor to open the live keyboard-shortcut reference.

Top bar
Across the top: brand mark, project name, save status, view-mode chips, Preview (pops out a 3D window), and Export on the right.

Tools
The left rail holds the drawing tools. Each has a one-key shortcut shown under its icon. Hold Space at any time for a temporary pan, regardless of which tool is active.

V — Select
![]()
Click to select an element. Drag to move it. Use the corner handles to scale, the rotation handle (above the top edge) to rotate. Shift-click to add to the selection; click an empty spot to deselect.
H — Hand
![]()
Pan the canvas. Drag anywhere — nothing on the canvas moves. Hold Space with any other tool for the same effect without switching.
Z — Zoom
![]()
Click to zoom in, Alt-click to zoom out. Drag a marquee to zoom to that region. F frames the selection; Cmd+0 fits everything.
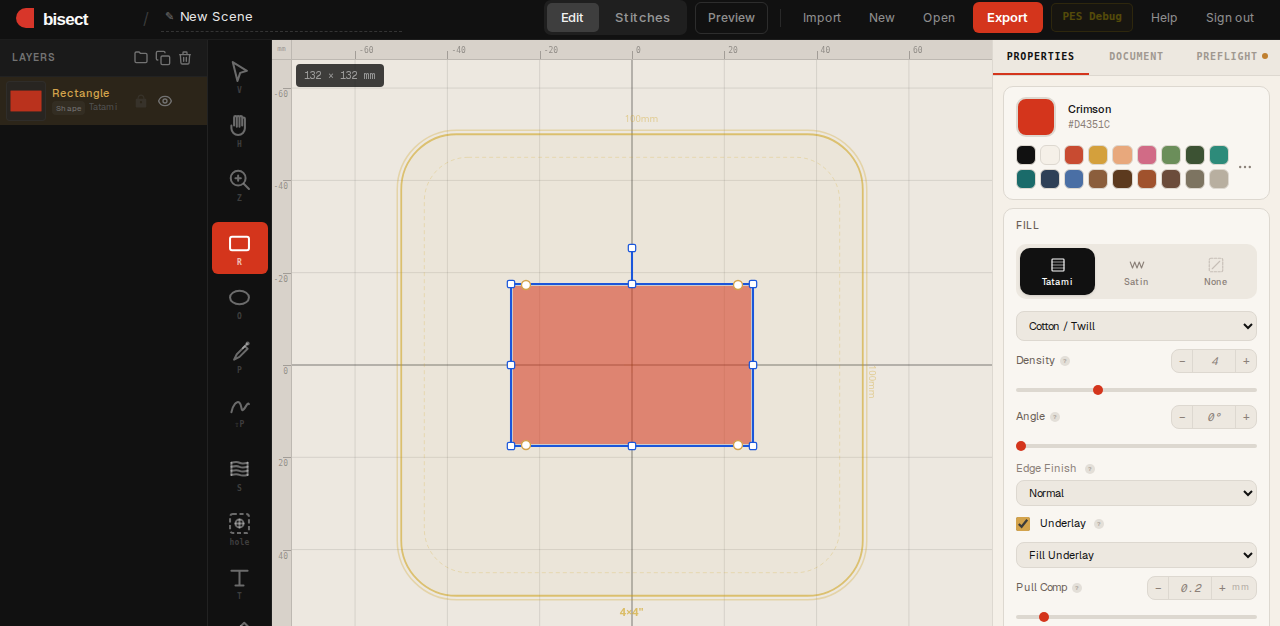
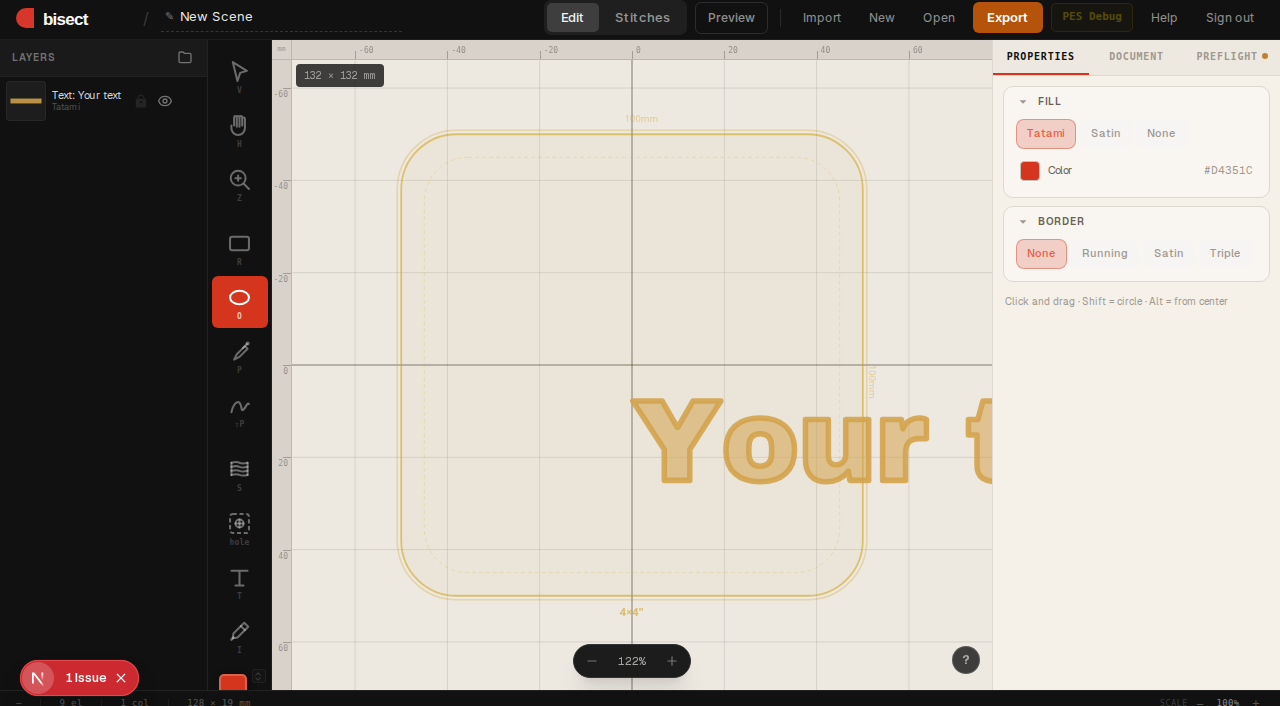
R — Rectangle
![]()
Click and drag for a rectangle. Hold Shift for a square, Alt to draw from the center. The shape lands with the default fill type (Tatami) and the active color.
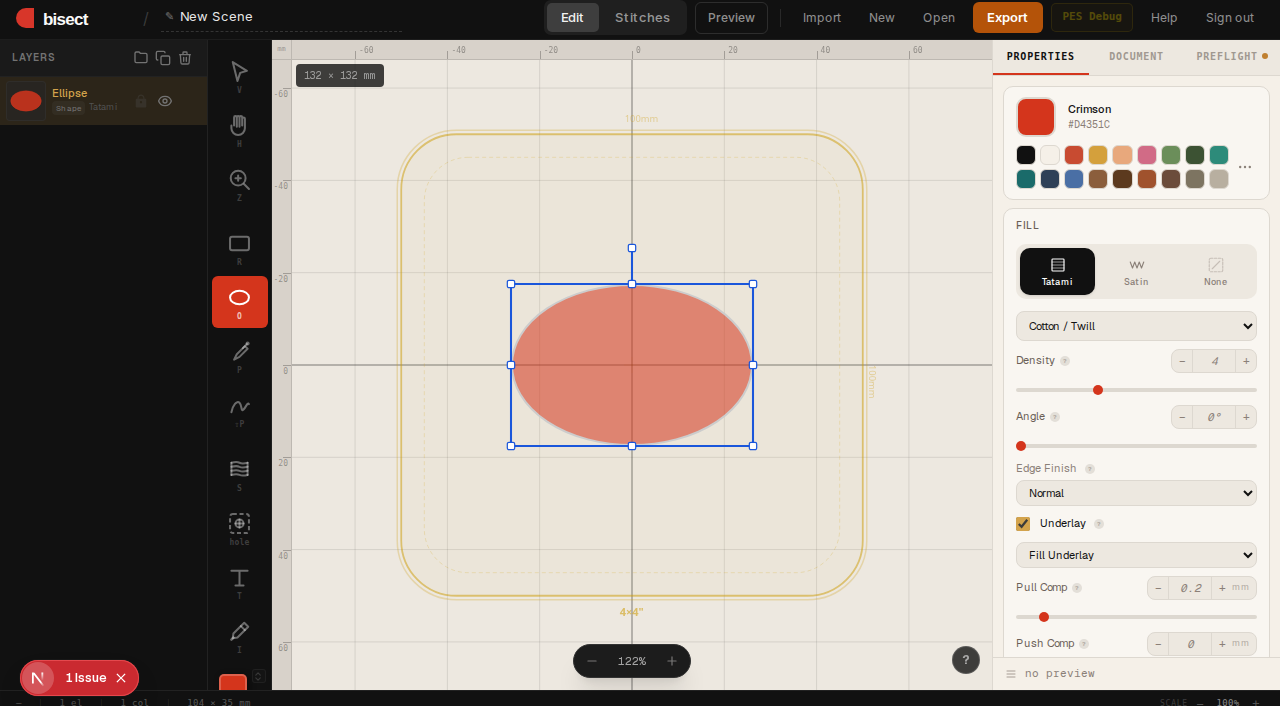
O — Ellipse
![]()
Click and drag for an ellipse. Shift = circle, Alt = from center. Same fill/color defaults as the rectangle tool.
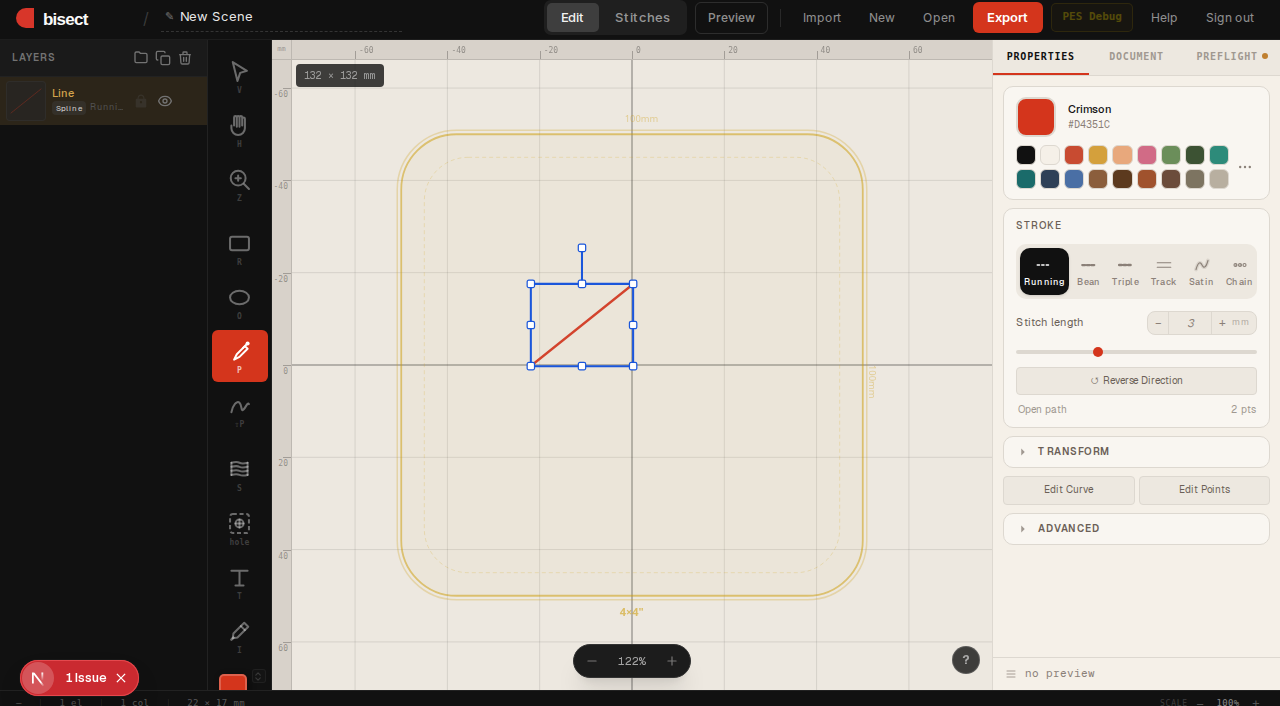
P — Pen
![]()
Click to place an anchor point; click-drag to place an anchor with bezier handles. Enter finishes the path, Esc cancels. Pen paths are stored as splines and can be edited point-by-point afterwards.
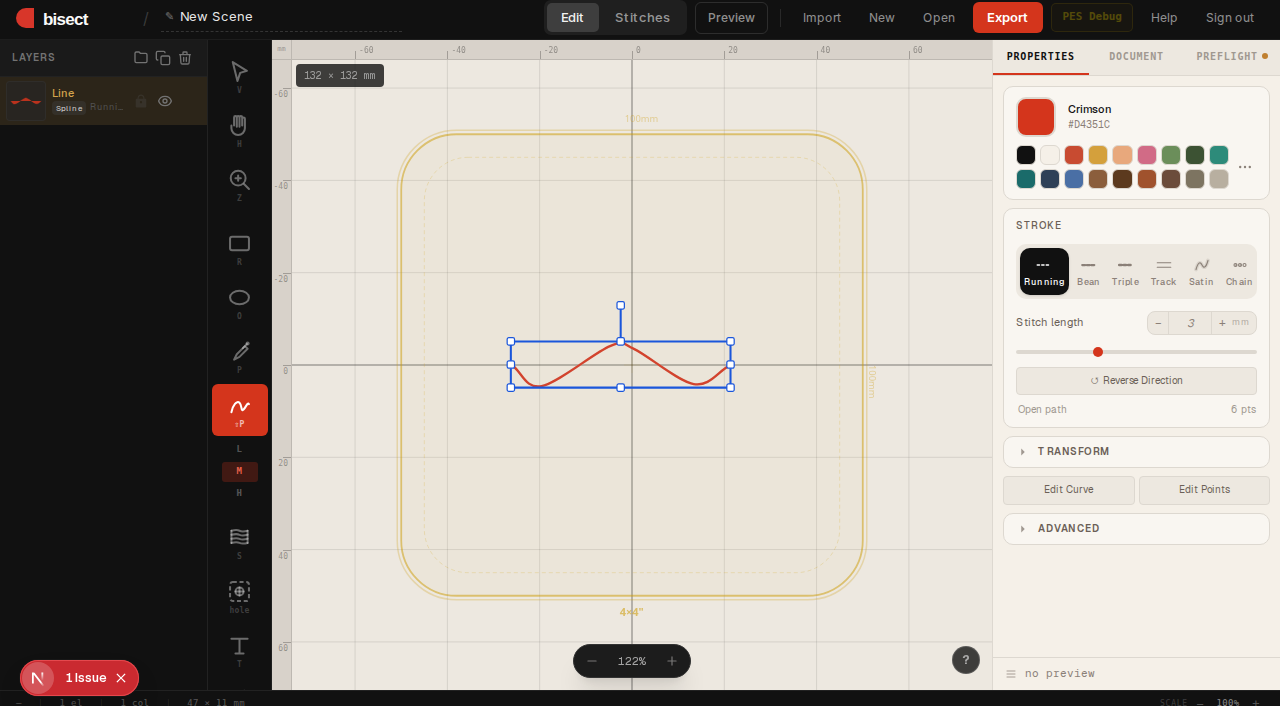
Shift+P — Freehand
![]()
Click and drag for an organic line. The captured stroke is smoothed into a spline. Good for hand-drawn details, signatures, decorative flourishes.
S — Satin column
![]()
Two parallel paths become a column of zig-zag stitches between them. The classic look for lettering, borders, and decorative columns. Draw the two paths, optionally add rungs to control direction, then commit. See Drawing & stitch types for density and underlay details.
T — Text
![]()
Click to place a text element, then type. The panel that opens lets you pick between Native (system fonts, converted to fills on export) and Design (purpose-built embroidery fonts that sew cleanly at small sizes).
I — Eyedropper
![]()
Click anywhere on the canvas to pick that pixel's color into the active fill. Useful when matching colors across imported artwork.
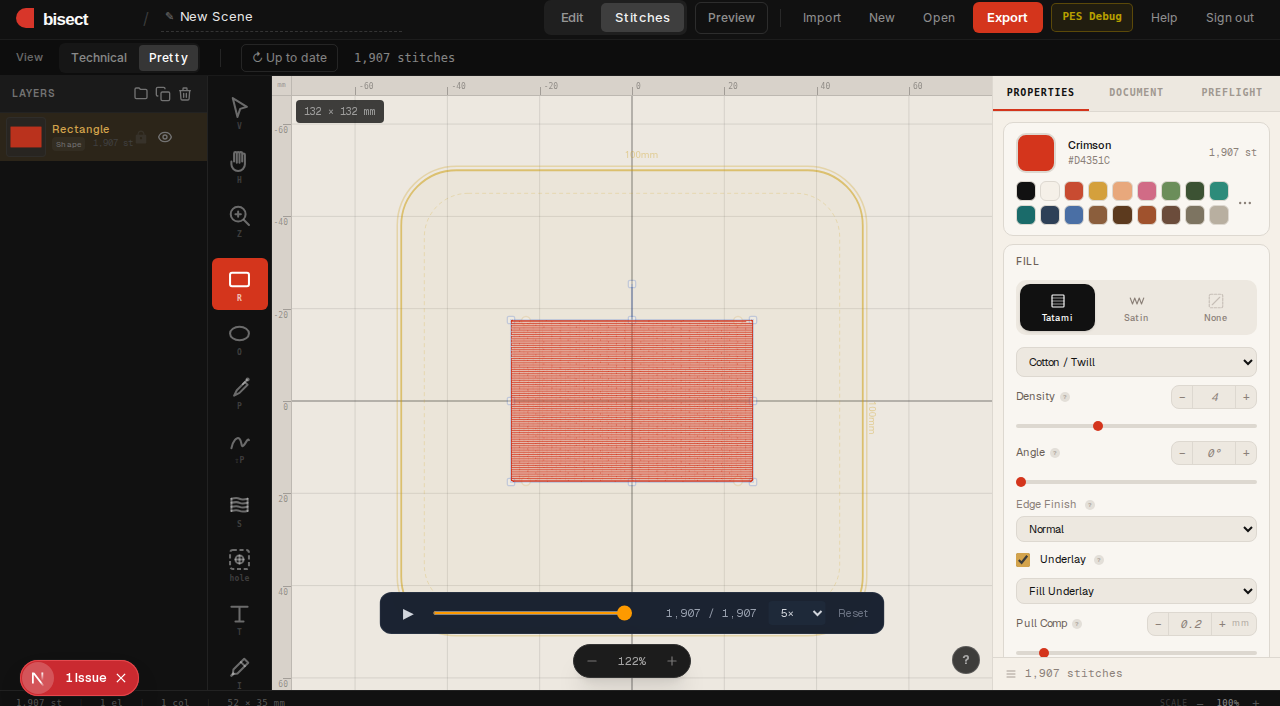
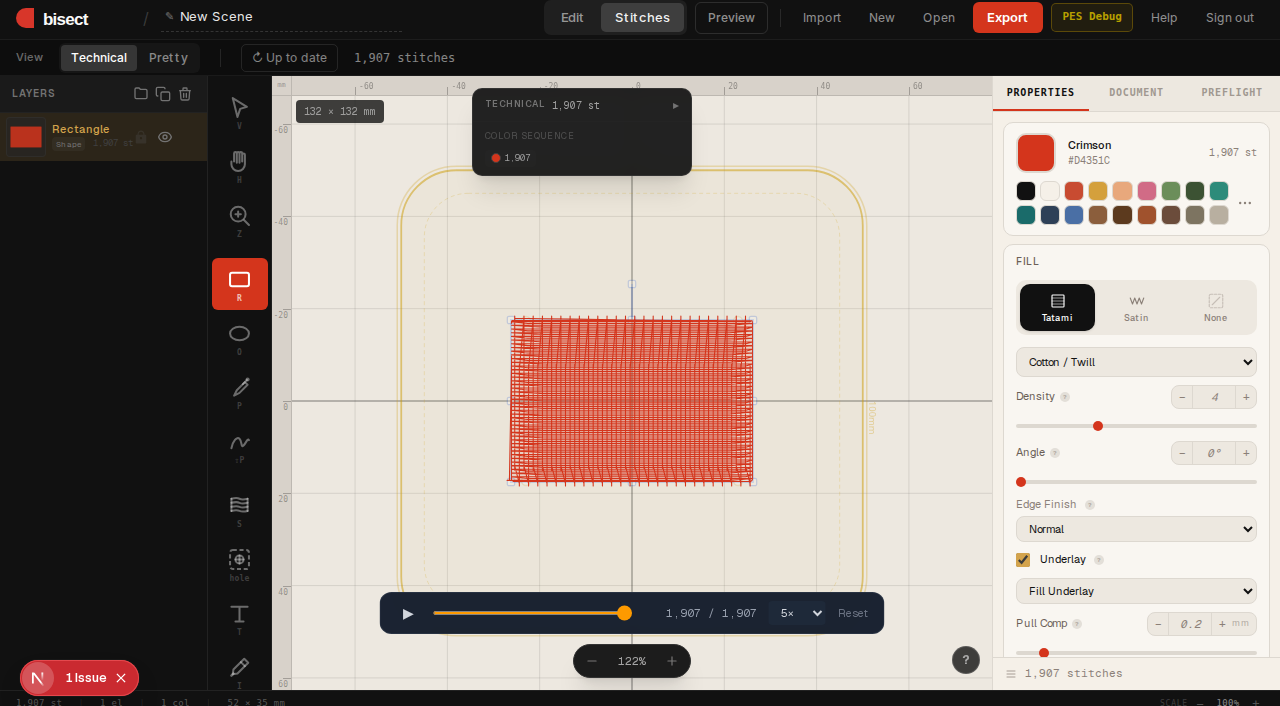
View modes
Two render modes for the canvas:
- Technical — one segment per needle position, jumps in red. The stitch truth.
- Pretty — thread-thickness strokes. Closer to what the design will look like sewn.
3D preview lives in a detached window — click the Preview button in the top bar.
Toggle the stitch-order overlay with Q to see the order of objects as they will sew, with numbered badges over the canvas.
Panels
The right side hosts context-sensitive panels:
- Document — hoop size, grid, snap, and reference-image controls. Visible when nothing is selected.
- Drawing options — defaults for the next shape you draw (fill type, outline type, colors). Updates live with the active tool.
- Properties — appears when you select an element. Edit fill/outline type, transform, color. Text and satin elements get bespoke sub-panels.
- Layers — flat list of every element on the canvas, with thumbnails, visibility/lock toggles, and drag-to-reorder. Reordering changes sew order.
- Reference — controls for a backdrop image (place, lock, vectorize, remove). Loads via the Document panel.
- Align — when 2+ elements are selected: align left/center/right/top/middle/bottom and distribute.
- Preflight — warnings panel: hoop overflow, hidden objects, runaway stitch counts, thread-change minimization.
Path editing
Select a non-primitive shape (e.g. a pen path) and press Enter to enter point-edit mode. Drag points and bezier handles directly on the canvas. Esc exits back to the select tool.
Primitives (rectangle, ellipse) need an explicit Convert to Path in the Properties panel before they can be point-edited — this avoids silently losing primitive metadata.
Stitch simulator
Click Simulate in the bottom bar to scrub through the stitch order one needle position at a time. Useful for catching stitch-order surprises (a fill jumping across the design before an outline sews).
Saving
bisect autosaves every change. The save indicator next to the project name shows the current state — Saving…, Saved, or Error (with a retry). Cmd+S forces a save now.
Next step
Read Drawing & stitch types to learn what each stitch type is for, or jump to the keyboard shortcut reference.